homemade almond milk

IMG_0369 2

Recently, a friend was telling me how store bought almond milk really doesn’t have that much actual almond in it. It was one of those things that made total sense, same with all the ingredients (some scary ones) that keep its shelf life for a couple months. So in the spirit of being more of a basic SoCal blonde, I started making my own almond milk!

I don’t think I can ever go back to store bought after mastering this craft. I usually make a batch twice a week, because it only stays fresh for about 3-4 days…and I also go through it faster than that! A lot of my friends have been asking for the recipe so I thought I would share it here in this space! If you have any suggestions or tips on your recipe, drop a comment below!

What you need:

Depending on whether you have a blender or a smaller nutri bullet, you may need to do the next step in batches. With a nutri bullet, I do about three to four rounds.

wishful thinking that my mom hopefully reads this and sees what kind of dilemma I’m in  🙂

Anywho…

  • 3-4 cups of almonds (I get mine at Trader Joes or Costco)
  • 3-5 pitted dates, depending how sweet you want it. Remove the pits before blending!
  • Cinnamon, vanilla, sea salt, flax seed, or anything else you want to add some flavor
  • Cheesecloth
  • Mason Jar (a few small ones or a large one)

IMG_0466

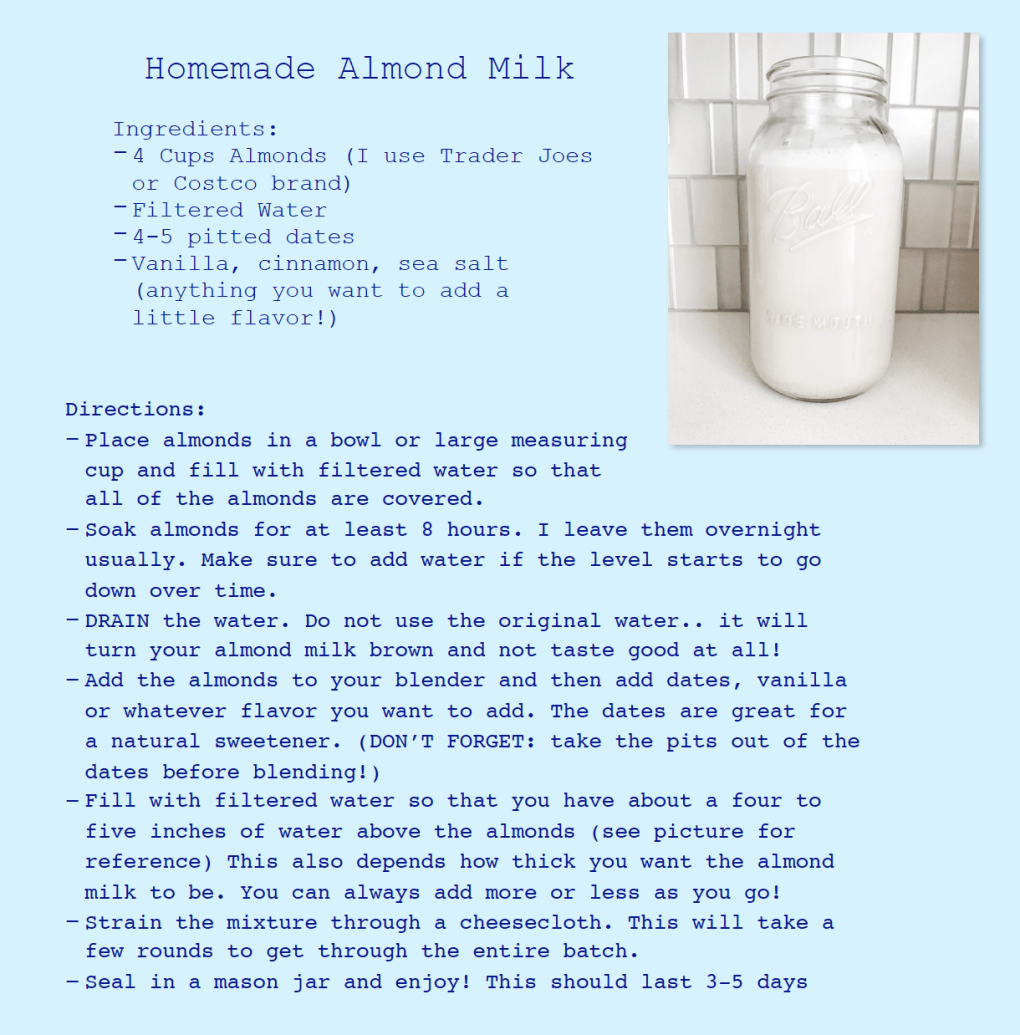
After soaking the almonds overnight, drain the original water used. Using the old water will turn the almond milk brown and not taste good at all. (Not to be confused with the picture below. That is mixed with cinnamon, dates, and the fresh water will turn a little dark from that and the almonds!)

IMG_0469

Add dates, vanilla, and another additional ingredients you want. Add filtered water, you want to have enough in there so that it’s easy to strain and you get more milk out of it. This is really up to your discretion and may take a few tries! This picture is a pretty accurate display of how much water I add to each batch. But if you like to thin it out more, just add more water.

After blending for about 20-30 seconds, start pouring the mixture in to a cheesecloth. This will take a few rounds to strain the entire batch. Also be sure to try your mixture when you go through the first round to gage the sweetness and flavor. I like to use a measuring cup to catch the milk so it is easy to pour into a mason jar after.

Yes, we joke about what this looks like as you massage the cheesecloth… go on! Nothing to see here! And if you don’t get it now, you’ll understand when you get to this step and your boyfriend asks what the hell you’re doing…

IMG_0484

Voila! You’ve got yourself some kickass almond milk (and a whole new inside joke to laugh about with your friends). I love using my almond milk to make lattes in the morning, or for overnight oats. You may even find your significant other trying to pour some in their coffee…! There’s also the concept of using the ground almonds. I’ve heard of people dehydrating it and making almond flour, or just adding it to smoothies for extra protein. I have yet to get into that project, but if you have any tips let me know!

What do you like to use almond milk for? Leave a comment below!

Screen Shot 2018-04-13 at 1.55.43 PM.png


makin’ banana granola (not pancakes)

30-Minute-Banana-Bread-Granola-

{photo via: minimalist baker}

It’s been a rainy week here in Sydney…boo! The one thing I love doing on rainy, cold days is to stay in and try baking something new. My mom makes this amazing banana granola that she shared to me from Minimalist Baker, one of my favorite food recipe blogs! Her Banana Bread Granola will make your kitchen smell amazing, and it’s so easy to make! There are only a few ingredients needed, and you probably already have them stocked in your kitchen so it saves a trip (out in the rain, in my case) to the store. I added almonds and used coconut palm sugar instead of raw sugar. I also was generous with measuring the wet ingredients to make sure every bit of granola got banana syrup! 

I already had a bowl with my favorite coconut yogurt and Orchard St. green meadows juice this morning. The only downside is that the remainder of the batch will be taunting me from the kitchen all day while I stay in : ) 

The one thing missing on this rainy day is my baby Tucker. He’s the best snuggle bug! I’d do anything to have him in Australia with me : ( 

IMG_1057


coffee coffee buzz buzz

Frank_Original_TOP_01_large

When I was a toddler, my mom caught me in the kitchen, swimming in coffee grinds on the counter. Ask me why I did it, I couldn’t tell you then–but today, I would proudly say I was doing a coffee body scrub! Who knew a toddler could be so innovative? (Yes, I did just share one of the many weird things I did as a child.)

Meet Frank, the best body scrub I have found to date. Its coffee-based, all natural formula not only soothes your skin and sloughs off the bumps, it is proven to help diminish stretch marks, psoriasis, and many other skin problems you may be experiencing. The quirky packaging just arrived and I was so excited to try it out! 

I may have looked like I was just casually rolling in dirt, but after leaving the scrub on for 10 minutes and rinsing, I came out of the shower smelling like sweet almond oil with a hint of coffee, and my skin was the softest its ever been! (probably as soft as it was the last time I rolled in coffee grinds…) 

If you’re in Australia and New Zealand, you get free shipping. If you do not live there, I still highly recommend the product! Check out there products online, there’s a few other types to choose from! However, I found a little DIY recipe on another Australian favorite, The Beauty Chef, to try at home! (I’ll be filling you in on why she’s so amazing soon!) 

Oh PS- Tasha Oakley loves Frank too! So if I couldn’t sell you on it, maybe she can! 

image1

{via: A Bikini A Day}


acai addiction

Happy Monday! Ever since I got home for the summer, I’ve been going to 3 Natives for my daily acai bowl fix. I’m pretty sure the people working there think I’m crazy considering I’m there almost every morning… So, in an attempt to save time and money, I found the Sambazon acai sorbet and created my own breakfast bowl! This is super fun to make with friends or family and can be personalized to any of your favorite fruit and topping preferences:

Image

Just stir the softened acai in a bowl (mix in peanut or almond butter if you prefer) and add as many toppings as you want! I added some organic peaches (hint hint, 3 Natives!). I also mixed in a little bit of raw honey and dang coconut chips. If you haven’t tried dang, you haven’t truly lived..just saying. I also like to add some bee pollen, maca powder, and vanilla granola too.

I will say, this bowl was almost exactly the same as 3 Natives. So for those of you who don’t live in the area, you can try it out or yourselves in your own home! However, for me, I just love making the trip there after yoga with friends and family! I also just remembered I have a free acai bowl from my 10 punch card (don’t ask me how many of those cards I’ve been through…)

Hope you all have a great week! : )